Showing posts with label lessons. Show all posts

Thursday, November 5, 2009

let there be (good) light!

Banner Photo 012

As a photographer that works primarily with natural, available light, I am always looking for good light. It is a chore to photograph in less than ideal lighting conditions, but sometimes it's unavoidable. I think many believe bright sunlight is the best lighting for photographs - it's not. But there are many types of light to work with, and more importantly you need to learn to "make it work" in any lighting conditions (thanks, Tim Gunn). Understanding and knowing how to work with any lighting can elevate a ok snapshot to a great photograph.

Click here to read a great intro to various lighting conditions - the golden hour is not the only light that makes for great photos...

Thursday, October 15, 2009

how to photograph food (yummmmm)

It's hard to believe the holiday season is almost upon us. You know deep down in your heart that it's a little over the top that stores like Target have their Christmas displays already out, and it's not even Halloween yet. Come on, admit it. The other day when I was shopping at Target a blind guy - seriously, a blind guy - turned and said to me "Christmas stuff out already?" That's how bad it is at my local Target.

But man, do I love holiday food. I used to hate stuffing until a friend of mine gave me an outrageous recipe to make one Thanksgiving - now, I would eat an entire casserole dish full if I could. But when it comes time to document my cooking or the holiday meals we've enjoyed over the years, my photos are always kind of blah.

Never fear - Pioneer Woman to the rescue! Click here for 8 tips on how to photograph food - get a tissue just in case you drool over the tart that is featured...

Bon Appetit!

Thursday, October 1, 2009

so, how's your workflow?

One of my favorite stores on the planet is The Container Store. I could spend all day in there, scoping out the various products to organize my entire life. If money were no object (and time were plentiful, for that matter) my house would be completely decked out with The Container Store's finest. I would have no clutter. And a live in maid. And a chef....Alright, enough with the daydreaming, back to the topic at hand - digital workflow.

I know, this is not the most sexy of topics. But for anyone out there that has taken a gazillion shots of their kids, or can't figure out where the original digital file is after they edit a photo, good workflow is crucial. So get your cup of coffee and settle in.

I wish I could give you a simple plan for how to improve your workflow, but from reading several posts about it on the web, that just isn't possible. Truth is, digital workflow is very personal - you need to find a way to sort, organize, and edit your photos that works for YOU.

I figured this out very quickly after I shot my first wedding - I had over 2200 images to edit - 2200 after I deleted the shots that were clearly not going to make the cut (out of focus, way under/over exposed, etc.) I am always looking for suggestions via articles and podcasts on how to improve my workflow so I don't spend needless hours organizing and editing - time I could be spending marketing my business or meeting up with more clients.

So where to begin? Here are some articles that provide suggestions:

Digital Photography School - simple Lightroom image fixing workflow

DPhoto Journal - 7 essential steps to digital workflow

Ken Rockwell - my workflow

And, for anyone who's interested, here is my current digital workflow - a work in progress, mind you:

1) download images onto external hard drive - images are saved in subfolders by date and name/activity. I have my personal photos separated from my client photos, and my client photos are all named with the date first, for easy sorting.

2) open all images in Preview (I'm on a Mac) and delete any obviously BAD photos (this to preserve space on my hard drive).

3) import all keepers into Aperture for further editing.

4) for any shoot I try to keep my edits similar for each set - so if I adjust the white balance or the levels on one photo, chances are I will change for the entire set in that series.

5) after I do a basic edit of my photos, I will go back and play with my Nik software (like Photoshop) to add effects - more vintage looks, black and white, boost color, etc. I admit I like to play with the effects, but in the end my aesthetic is pretty clean - not a lot of editing for me.

6) export the final edited images back to my external hard drive, so I have a final copy of the images I post online for my clients to proof/order.

And there you have it - Anyone still awake??? If you have a question or a workflow tip for readers, leave a comment.

Thursday, September 24, 2009

TTV - a tutorial

http://ny-image1.etsy.com/il_fullxfull.92056157.jpg

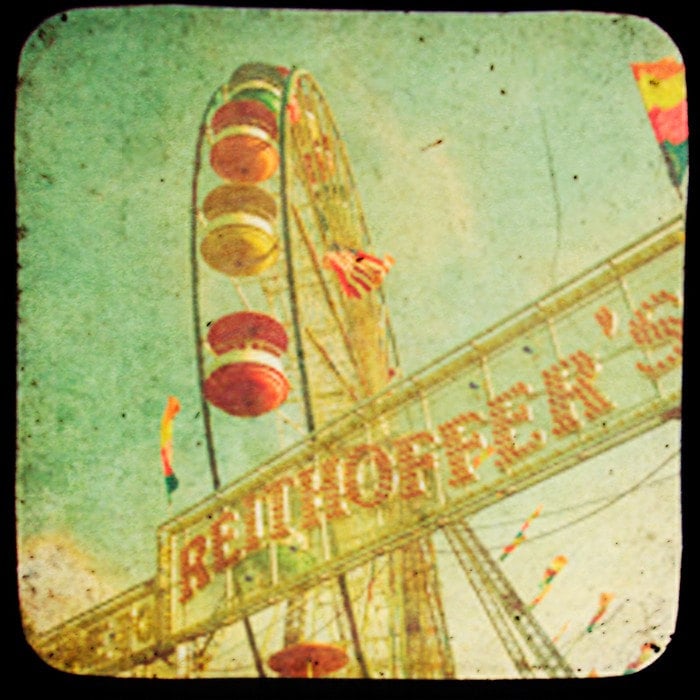
A while ago I bought a beautiful print of a ferris wheel from a photographer that has a great vintage feel, almost like the lens had been scratched up and the edges of the negative distressed (similar to the one above, by bomobob). Come to find out the photograph was taken TTV - through the viewfinder. Meaning the photographer used her camera (digital, I'm guessing) and actually shot the photographer through the viewfinder of ANOTHER camera. You following me?

For anyone intrigued on how you actually do this, click here for a tutorial on how to create TTV images. If you search for TTV images on etsy you can see about a gazillion examples of what I'm talking about. It creates a vintage, old-fashion look to your photos.

If any of you try this out be sure to send me an email and let me know how it went - I just need to find me a double lens reflex camera at the flea market...

Thursday, September 17, 2009

RAW versus JPEG - you be the judge

I think I've made it perfectly clear over the last 9+ months of this blog that I'm not a "techie" kind of girl. I find the older I get the more technically challenged I become. It's because I made fun of my grandmother for blowing up an egg in the microwave one time, or teasing her because she was afraid of our VCR, I'm sure. Karma always gets the last laugh, people.

So when it comes to the more technical side of photography I have a tendency to shy away from anything that I find too complex. I realize that isn't logical, given that I am trying to learn MORE about photography, but it's true. Thankfully, this blog has given me a reason to push myself and my knowledge of photography, so I am learning to let go of my technical phobia.

First, a story for you. A few years ago I shot hundreds of vacation photos all in RAW format, without knowing anything about why one would shoot RAW format. Word on the street was RAW was WAY better than shooting JPEG. At the time, though, I didn't have software to process RAW formatted digital photos, so when I went to edit and print out my RAW photos, I either could not open the file, or once printed they looked terrible. That experience was enough to scare me away from shooting RAW - until now. This time I want to truly understand the difference between shooting RAW versus JPEG format, and you, my dear readers, are along for the ride.

Some of you might be thinking "what do you mean - I have a choice??" Why, yes you do - check out your owner's manual for your specific options - you might be surprised just how many options you have!

The most simple and straightforward explanation I've come across was posted over at The Lightroom Lab: picture RAW formatting as a roll of black and white film, and JPEG as a Polaroid image.

Photos shot in RAW format are the exact file the camera writes to the memory card. The camera's internal processor does not alter the original data in any way. However, this original data requires specific software to "process" the original data into files and images you can edit and print. So, if RAW format is a roll of black and white film, your editing software is the way you "develop" RAW images. Otherwise, you won't be able to view, edit, or print your RAW images.

JPEG format, on the other hand, tells the camera to convert the original data into a polished and universally acceptable file format. JPEG images can be viewed straight out of the camera, with no additional processing required - much like an image from a Polaroid camera.

So what are the benefits to shooting RAW versus JPEG, or vice versa? Depends on who you ask - and EVERYONE seems to have an opinion on it. Digital Photography School has a simple breakdown of the pros and cons of each format - click here to check it out. Any questions - leave me a comment or send an email on over!

Thursday, September 10, 2009

basic composition - the rule of thirds (revisited)

My husband's aunt is an artist - a painter primarily, but she dabbles in several forms of artistic expression. In fact, we have a painting of hers hanging in our home - click here to see it (it's on her home page).

One time we were talking about what makes good art, or specifically good photography, and she said "It's the eye of the artist - you either have it or you don't." Similar to what Supreme Court Justice Potter Stewart wrote in an opinion in 1964, in reference to hard core pornography: "I know it when I see it." Touche, Justice Potter.

But I digress - Aunt Michele and Justice Potter have a point. You can ace every technical aspect of photography and still take a boring picture. That intangible factor, the je ne sais quoi if you will, is composition. And the most basic rule of composition is the rule of thirds.

I wrote about this way back when I was a newbie blogger, so I figured it's time to revisit the concept. What's great about this week's lesson is that anyone can benefit from understanding the rule of thirds - whether you use your camera phone, a point and shoot, or a fancy-schmancy SLR.

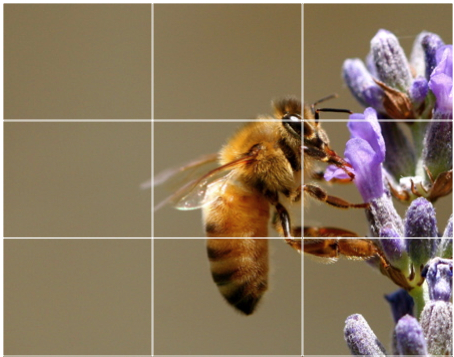
The rule itself is pretty basic - imagine dividing your image into a tic tac toe grid, like so:

http://strongphotography.files.wordpress.com/2009/01/200605022117.jpg

(photo courtesy of Digital Photography School)

The idea is the more interesting parts of your shot should line up to the intersecting points of the tic tac toe grid (take a look at the bee's eye, for example). Also, you can break your image into three columns (vertically or horizontally, and concentrate the interesting parts of your shot in one or more of the columns (see how the bee and the flower are only in two-thirds of the frame?)

And there you have it - a nice simple rule to practice anytime you whip out your camera. Do off-centered shots drive you crazy? You do know that rules were meant to be broken...but I thought you should know the golden rule of photography before you decide to break it.

Happy composing!


Thursday, September 3, 2009

back to school - Q & A session

Summer is officially over here - my oldest went back for her last year of preschool. Hard to believe that summer is done - especially since it will probably be warm around here for another couple of months.

But here at melissa brandman photography HQ it's time for new lessons. This summer I did a lot of reviews on the basics, so this Thursday I will start with some reader questions - things people have asked me in person, via email, or by comments on this here blog. A good way to usher in the new "school" year.

Q. Where did you take photography classes?

Two places: (1) at the local golf course clubhouse through parks and recrecation, (2) at a fancy schmancy art school. Can you guess which one I found most helpful??

In fact, my experience at the art school photography class was the impetus to start this blog as a place for photographers to learn a little something each week. I paid a lot of money to have access to a fine art photography teacher and to learn about Photoshop and how to print my images at a professional lab on campus. Sounds cool right?

My "teacher" spent the first few classes showing his students which websites he thought were "awesome" - most having nothing to do with photography. Instruction on Photoshop consisted of turning it on and clicking randomly on the commands to see what happened to your photo. The only rewarding part was having a chance to print out some of my travel photos on a huge printer for a fraction of the regular cost. Needless to say, it was a waste of time.

My first photography class, way back when I was a sad, miserable lawyer, cost maybe $60 and was taught by an older gentlemen that used slides on an overhead projector to teach. He required us to bring our camera manuals to class to look up topics, we had homework and we brought our printed-out images to class. He would walk from student to student to make sure we were getting each concept.

He is the reason I know what I know about photography.

All this to say you don't need to spend a lot of money to find a good class. There are many classes through your local parks and rec center or community college that are affordable and very informative. If you are just starting out you need a class that will help you learn all the basics, such as what are my camera modes, what the heck is aperture, etc. Definitely find a class that requires you to bring your manual with you (if you are looking for an intro to digital photography class).

See if there are any camera stores in your area that offer classes. I rent my camera equipment from Samy's Camera here in So Cal, and they offer many types of classes through their stores.

Q. What equipment do you use?

I love when photographers share this info! Camera equipment is expensive, and if you are looking to break into a particular type of photography it helps to know what other photographers in that genre are using. In my camera bag is:

  • my Nikon D200
  • my Nikon Speedlight SB-800 external flash unit
  • my Nikon AF-S Nikkor 18-70mm lens (came with the D200 - good basic lens)
  • my Nikon AF-S Nikkor 50mm prime lens (changed my life - wonderful for portraits)
  • my Sigma 50-150mm 2.8 (great for long distance portraits, especially in lower light situations and if you have kids running amok).
And there you have it. I have my eye on upgrading my camera body at some point, and if my wedding work gets hot and heavy I will look for some additional lenses. I would love to learn more about lighting, too. Keep in mind that I acquired my equipment over the years - you can get started with a good basic DSLR and one lens and be very happy.

Q. How do you properly clean your lenses (ok, this is actually my question to myself, but I figured someone else out there might wonder about this...)

Check out this tutorial over at Camera Dojo on how to clean your lenses.

School is back in session - if you have any questions for me on anything (photography-related or otherwise), leave a comment or send me an email. I'll put together another lesson post answering your questions in October.

Thursday, August 20, 2009

"vintage" flair - how I do it

As promised, here is lesson no. 2 for the week!

Ok, I admit - I'm not going to tell you EXACTLY how I do it. I have to keep a little mystery around my photography aesthetic - it'll keep you coming back. But this is first and foremost a place to learn more about photography - that's why I started this blog. So if you ask it, I will answer.

Mary was wondering how I achieved that vintage feel to these photo:

county fair

county fair

Let me state for the record that any "vintage" editing tricks I will espouse today I learned the old fashioned way - by trial and error. For any of you well versed in Photoshop there is an entire world out there of actions and tricks and edits to create shots that are as vintage as you would like.

These tips are for those of you looking for some creativity using very basic editing skills, so here goes:

1) Play around with the white balance, color temperature, and saturation. Click here to review my lesson on color temperature and saturation. Here is an example:

county fair

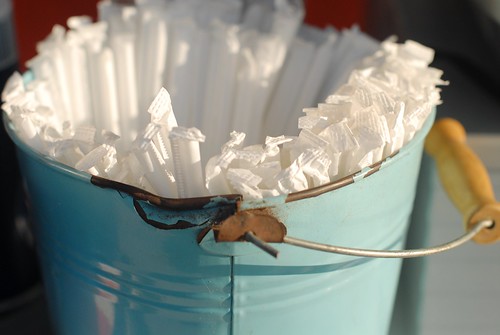
Here is the original photo - a pail full of straws at the county fair. I love the bright white against the aqua of the pail.

edited pail

Here is the "vintage" version, editing only the color temperature and saturation. Essentially, I bumped the color temperature WAY up and then dialed the saturation WAY down until I found that balance between the yellow-ness and the faded look of old photos.

This is the most basic way - here are a couple more options:

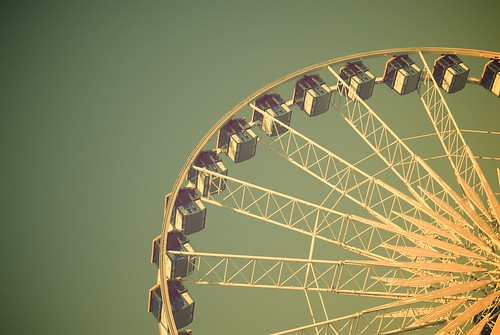
2) play with tint. iPhoto allows you to change the tint of an image, with a lever that moves from red to green. In Aperture there is a more advanced means of changing tint, allowing you to tint the photo to any color of the rainbow. I used this control in Aperture to change the tint of the ferris wheel photo above to have a more yellow tint.

3) check out this tutorial on how to make your digital photos look like lomo photography (click here for more info on lomography).

A few weeks ago I picked up a vintage 1960s film camera that I'm hoping to take for a spin soon. I'll be sure to post my "real" vintage images when I get a chance...


catch light - how to get it

Jack

This is Jack - my adorable, chubby, maddening, sweet beagle. He has some of the biggest hound dog eyes around - don't you just want to give him something to eat? (Hence why he is chubby - that and if you don't give him something to eat, he will find a way to get it himself. Like the time he pulled down two loaves of Challah bread from the kitchen counter and ate them surreptitiously in the back yard, only to BARELY fit through his doggie door because his stomach had expanded so much. But I digress).

See that light reflection in his eyes? That's called catch light - it's the light from the sky above us that is reflected in his eyes. If you look closely enough you can see the outline of me taking a picture of Jack. Here are a couple more examples:

alice rose

sweet Alice Rose - the catch lights in her eyes are from a window to the side of her.

2009-04-04 at 16-45-11

my little one enjoying her cake on her 1st birthday - my girls' eyes are VERY dark brown, but even so you can see the reflection of blue sky in her eyes.

Why are catch lights important? They give depth and definition to the eyes, which is highly desirable in portrait photography. How big the light is and where it lands on the eyes is directly related to the light source - direct light, indirect light, flash, reflectors, strobes, etc. - each of these will create a different reflection in the subject's eyes. The catch light examples above are all natural light.

Some would say that portraits, especially close ups, are dull and lifeless without catch lights. I like catch lights, but I wouldn't go that far. It's a matter of personal taste and preference. You can even add catch lights post production - click here for a tutorial.

I don't use Photoshop personally, but I do know there are Photoshop tricks and actions used to brighten the eyes - but beware of going overboard. Click here to see what can happen if you get a little too Photoshop-happy around the eyes...

Fingers crossed...today I may have the chance to photograph a VERY newborn baby at the hospital for some dear friends - so excited!

And as promised, lesson no. 2 is on its way...

Thursday, August 6, 2009

homework assignment - shooting in b + w mode

mommy's heels

First, a big thank you to readers Sara and Becca for convincing me to give Flickr another chance. Based on their advice/suggestions, I decided to search out different groups that I found interesting, and that would compel me to experiment with different techniques. I was not disappointed (although beware - while there are many friendly folks on flickr there always seems to be a Negative Nellie lurking in the groups, waiting to pounce on a photo or two...)

One group I found was the Nikon Digital Learning Center group - since I shoot with a D200 I figured it can't hurt to be a part of a group intimately familiar with my camera. The group moderators post several assignments a month - one in particular was intriguing to me: shooting in black and white mode to improve your composition.

The "teacher" - Richard E. Aaron, an accomplished music photographer, suggests that by shooting in black and white (rather than converting to b + w later) the photographer can focus on the content of the photo - the lines, shades and composition. That way, color won't distract you from carefully crafting an image that really tells a story.

So this week, instead of a lesson per se, I have a little homework assignment/challenge for you readers. Assuming you can (and most of you with DSLRs can), change your shooting mode to black and white, and really concentrate on the composition of your photos. Click here for a review of the rule of thirds, perhaps the most basic composition rule out there. Click here to review additional composition rules - and for you naughty readers, click here for how to break said rules.

I adore black and white images - oftentimes I can "feel" more from the image than the same image in color. I hope you capture some good shots!

Thursday, July 30, 2009

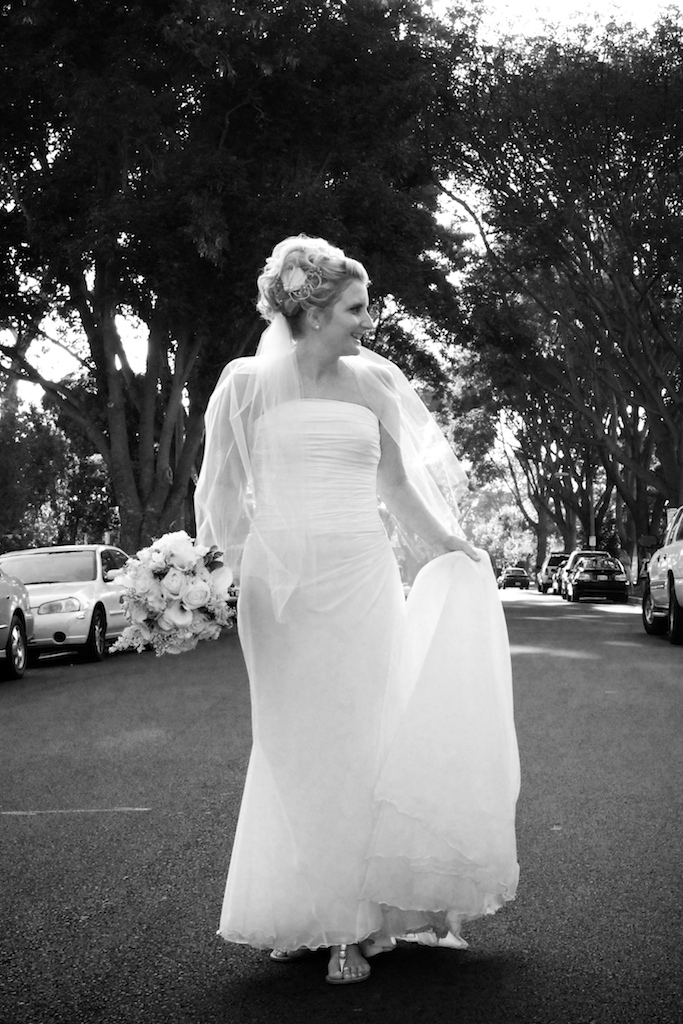
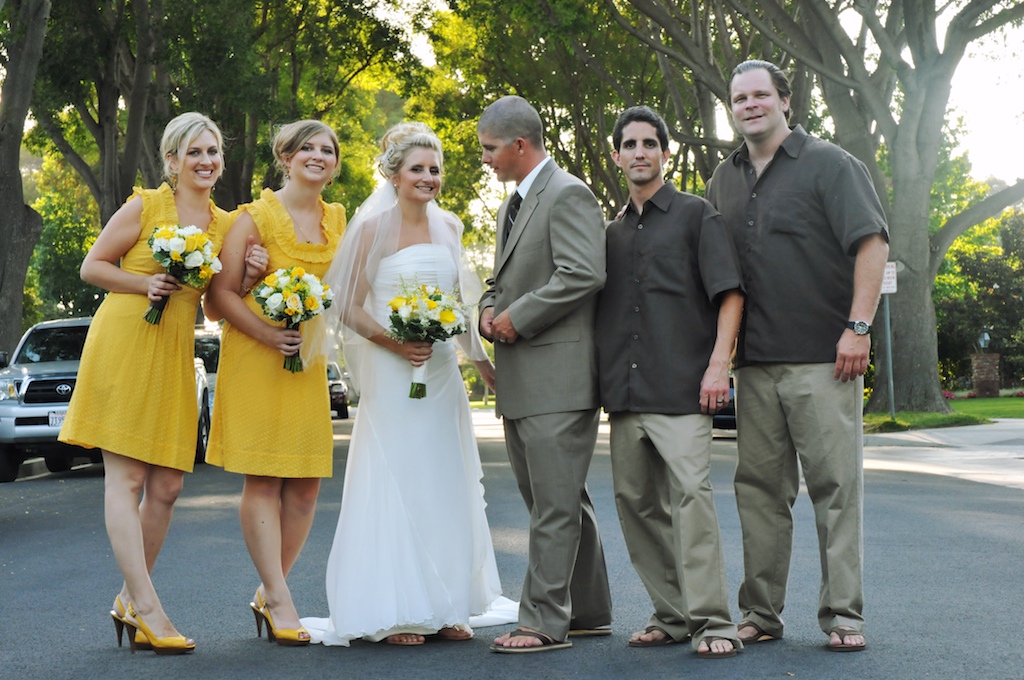
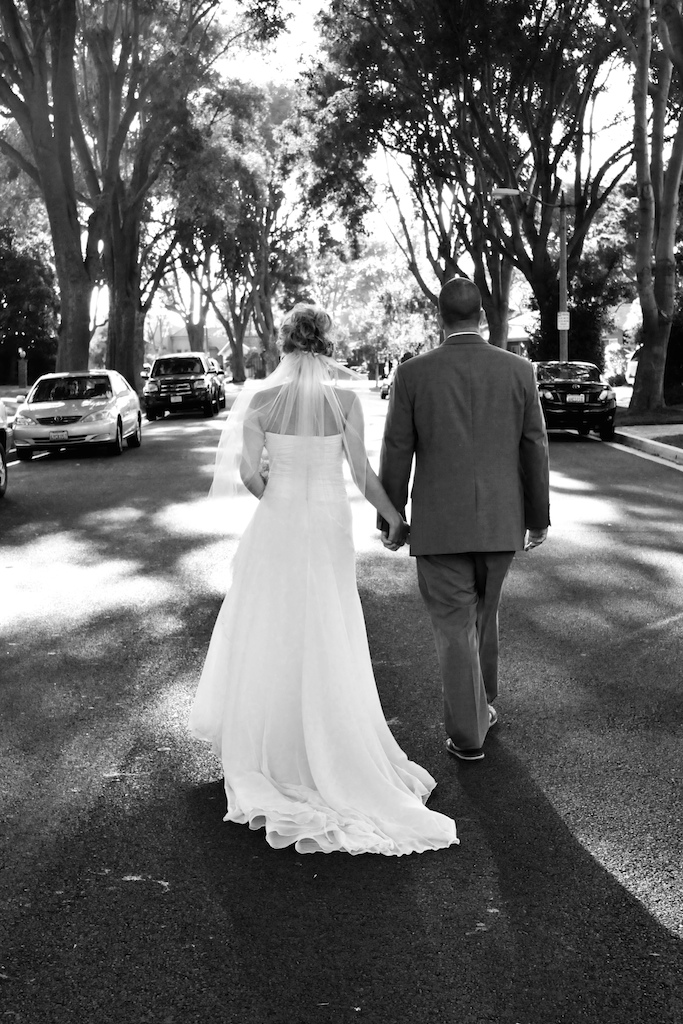
meghan + tristan: the golden hour (taking it to the street)

In the spirit of keeping things easy around here, I decided to combine today's lesson with some more shots from the wedding. We've reviewed some basic concepts in the last few weeks, so now let's review one of the most basic lighting concepts for photographers - the golden hour. Or, golden hours is more accurate I guess.

This is the light that occurs during the hour after sunrise and sunset. The time of the day when the shadows are long and the sun is warm and golden, without being too harsh or bright. In essence, a fantastic time to photograph almost anything. Aperture, shutter speed, ISO - each of these is important to determining how much light enters the camera, but now we're talking about the quality of light and how the golden hour casts light on your subject.

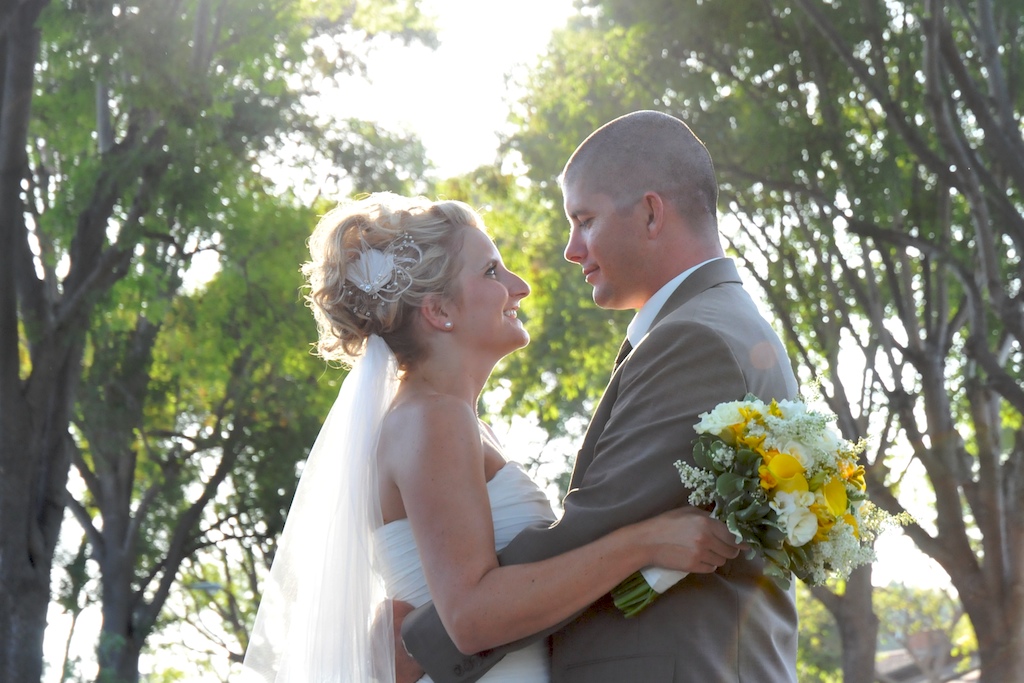
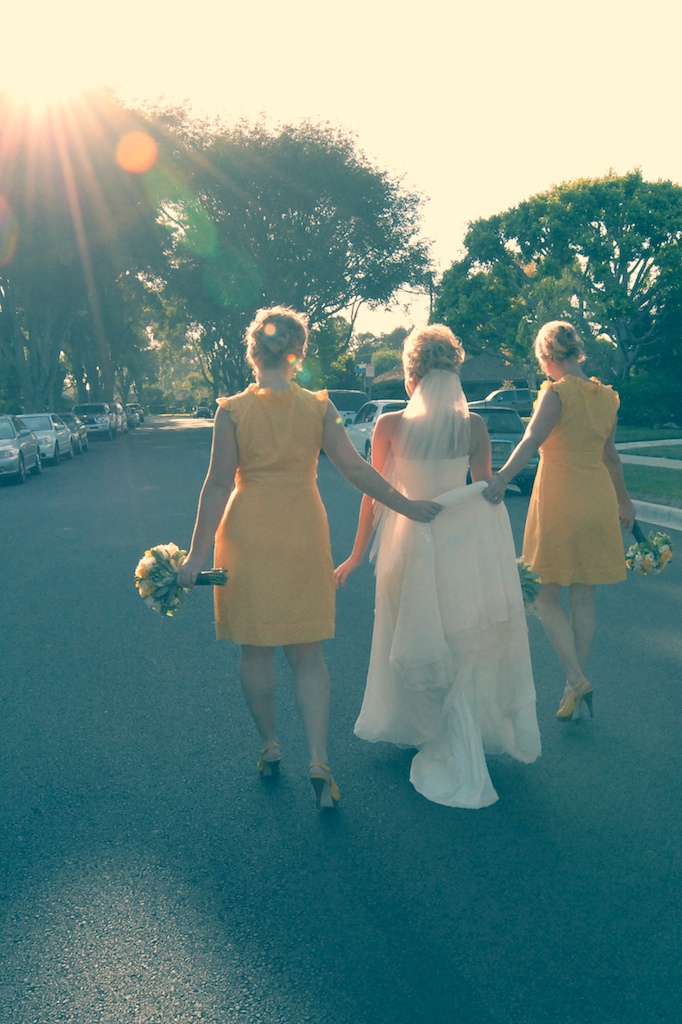
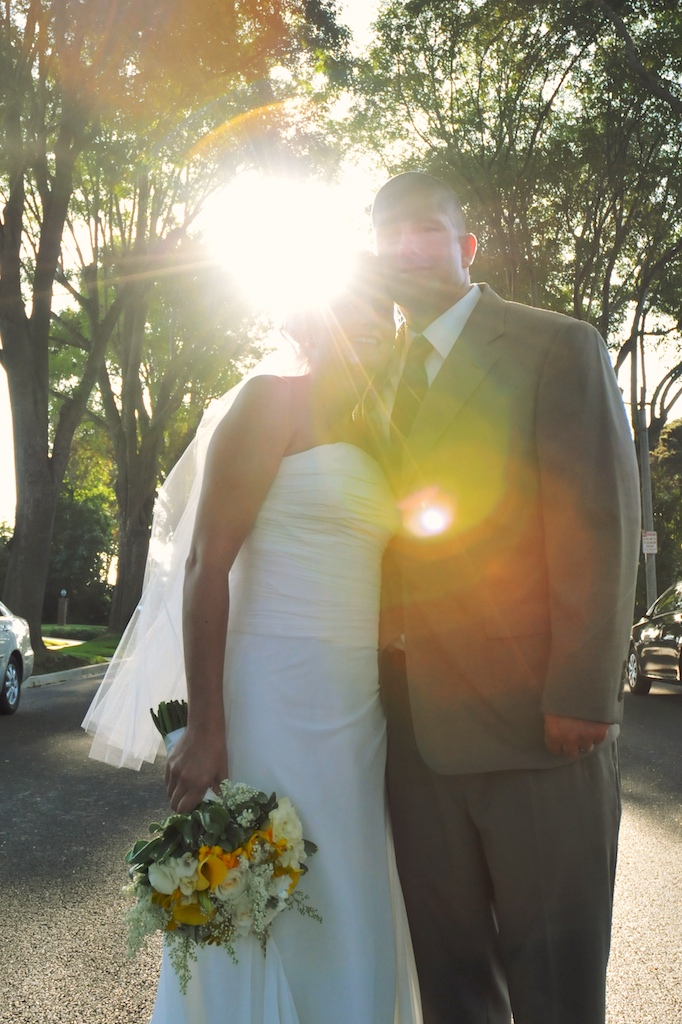
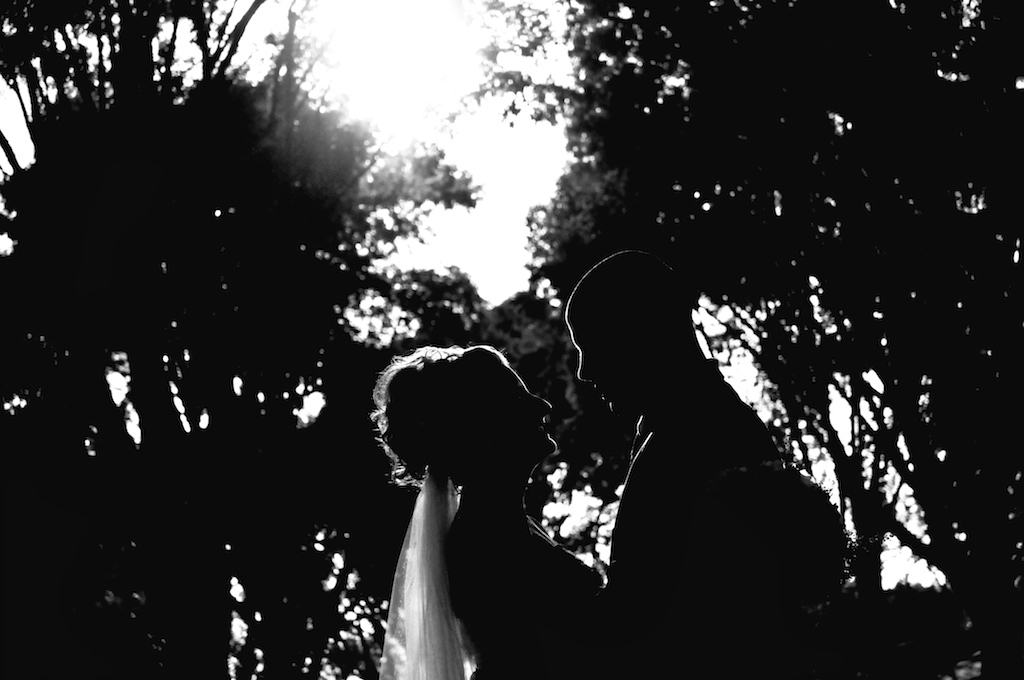
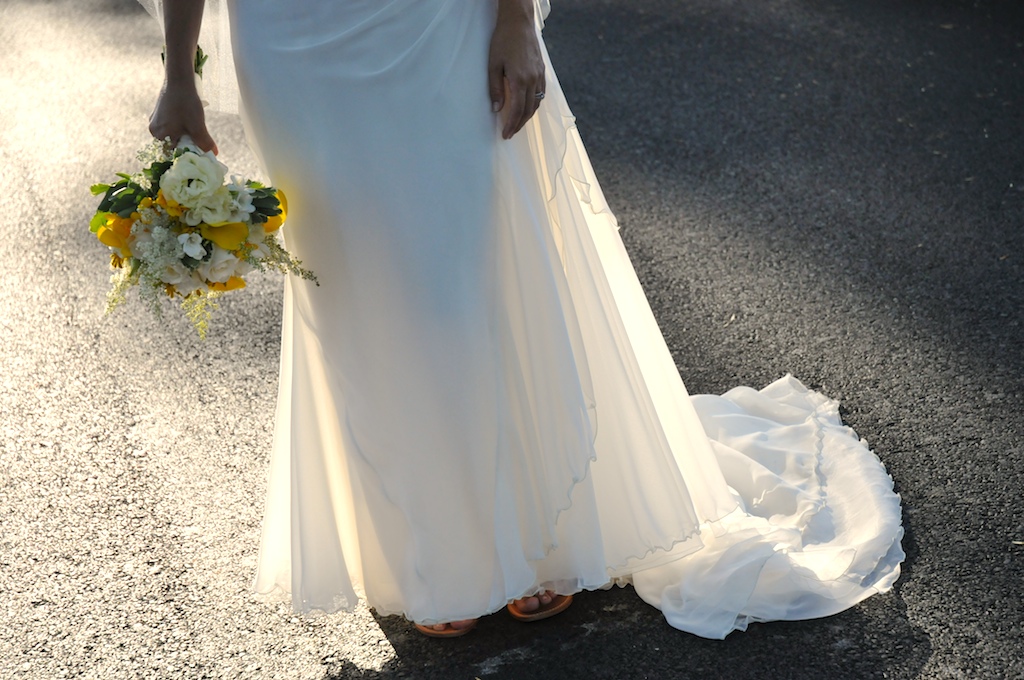
At the wedding, the golden hour corresponded with the cocktail hour - a good time for photos. Not only did I work the golden hour, I experimented with using back lighting and lens flare in these series of photos. (There is an upcoming posts on back lighting - I promise...) Since the cocktail hour was happening in the same location as the wedding & reception, it was proving to be a bit hectic, so I suggested a stroll down the street for some photos.

meghan + tristan

OK, technically speaking, this photo is at the VERY beginning of the golden hour, since the sun sets pretty late here in the summer. But you get the idea - a lovely warm light. This photo is a combination of all three: golden hour lighting, back lighting, and a bit of lens flare.

meghan + tristan

I clearly have a love affair with lens flare. This is also a vintage effect I'm trying out - more of a blue-ish tint.

meghan + tristan

this is probably my favorite photo of the bride from her wedding day - the golden hour light made for a gorgeous backdrop.

meghan + tristan

See how everyone just looks so nice? I think I will only shoot portraits in this light from now on - it just makes everyone look so fantastic!

meghan + tristan

In the interest of "keeping it real" I included 2 not so great examples of back lighting and lens flare:

meghan + tristan

A little too much flare, not enough bride...

meghan + tristan

I actually like how this turned out - a lovely silhouette portrait. But it was not intentional - not at all. Point being: never stop trying new techniques or ideas. You never know what you might get...

meghan + tristan

meghan + tristan

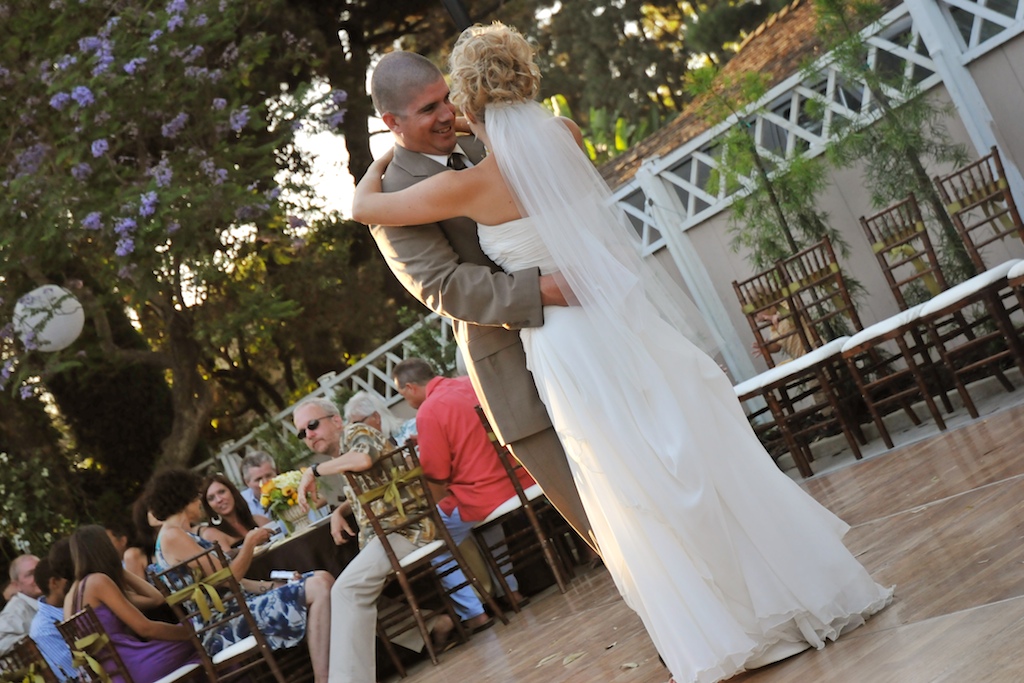
The first dance - and a photo taken in the "sweet spot" of the golden hour. LOVE that light!

So the next time you're out after dinner and the sun is setting, grab your camera!

Thursday, July 23, 2009

how to photograph in direct sunlight

pool party

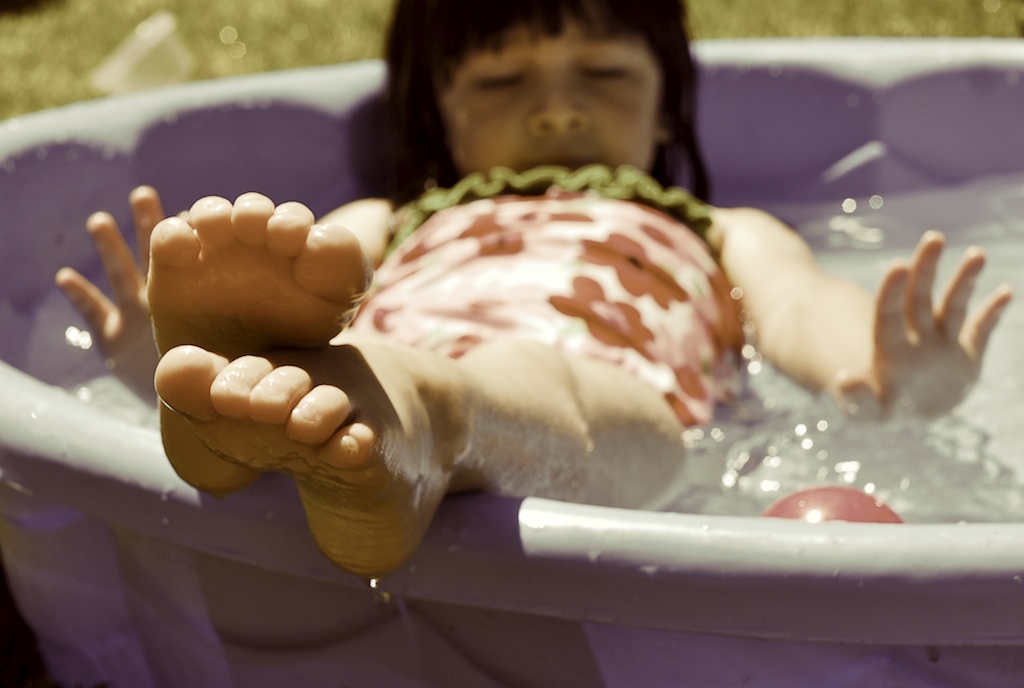
It's summertime, and I find myself spending more and more time outdoors in the bright sunshine, camera in hand to capture my cute little girls splashing around in the water. We've discussed how shooting in broad daylight is not the best lighting situation for photos, but what's a girl (or boy) to do when the kids are playing and the sun is high in the sky? Here are some tips:

  • find some shade - the easiest solution is to move your subject into the shade of a tree or building to take the photo. You could even try to use yourself as the shade (check out this tip over at Pioneer Woman).
  • block out the light - if you must shoot in direct sunlight, try using a lens hood or even your hand to block out the harshest rays.
  • use fill flash - click here for my post on fill flash. Flash in direct sunlight sounds like overkill, right? But it makes sense - the direct sun overhead can create some pretty severe shadows, especially on faces. Fill flash can help to even out the light - no more ugly shadows darkening your photos.
  • try a longer exposure - for this tip, you will need to work in shutter priority or manual (click here for more on camera modes). The longer the shutter stays open the better chance of getting a more even exposure between the really bright and really dark places in your photo. Try a shutter speed of 1/100 or longer (i.e. 1/80, 1/60, etc.).
  • use a filter - a polarizing filter will help cut down on the amount of light coming into your camera, allowing you to use a slower shutter speed (see above).
Any questions? Leave a comment.


Thursday, July 16, 2009

what is ISO?

In looking back at some of my previous posts, I realized I never did a proper post on ISO. And since ISO is part three of the light trifecta if you will, it's time to give ISO its due.

When referring to film photography, ISO (also called ASA) refers to the film's sensitivity to light. When referring to digital photography, however, ISO refers to the image sensor's sensitivity to light. Many of you may not realize that your digital camera has a function that allows you to adjust your ISO settings. That includes both SLR and point and shoot cameras.

Adjusting ISO can make a big difference in your photos, depending on your lighting conditions. For those of you that hate noise or grain in your photos, or your are shooting in broad daylight, you will want the lowest number ISO settings, such as ISO 100 or 200. If you are shooting in low light conditions or indoors, you will have to bump up your ISO setting to 800 or beyond (unless you are using a tripod).

So why can't you just leave your ISO on auto setting? You can, but you will surely run into lighting conditions that will not be properly exposed unless you change your ISO setting. Remember the exposure triangle concept? (Sorry, I'm about to get all geometric on you...) Picture a triangle with aperture, shutter speed, and ISO at each angle. The goal is to get the correct exposure (a "triangle") every time. But triangles come in all shapes and sizes - the trick is to know how to change the "angles" to make the triangle the size and shape you want. So if your shooting in broad daylight, you can set a higher aperture setting (f/11 and above, let's say), shoot at a fast shutter speed, and use a lower ISO for a super sharp photo. If you are shooting in candlelight indoors, you will have to change your settings: low aperture (f/4 and lower), long shutter speed (below 1/30 of a second), and unless you have a tripod, you will HAVE to increase your ISO setting (ISO 800 or above).

Think of ISO as another play in your exposure playbook. Here's a guide from Bacon Lettuce Photo on the various ISO settings:

Auto ISO - Ok, you don’t want to mess with it. Let the camera figure it out. BUT, you are not in control. That is NOT how you’re going to become a better photographer. :-)

ISO 100 - Bright light situation. Most times the lowest ISO setting a digital camera offers.

ISO 200 - Cloudy day, overcast. Noise may start showing.

ISO 400 - Indoor photography, maybe sports stop action photos. Most cameras will start showing noise at this point which results in reduced image quality.

ISO 800 and up - Who coughed on the photo and… oh wait. It just looks horrible. :-) No, I’m just kidding. But most digital cameras will spit out horribly noisy images at this point but some of the more expensive cameras may not.

I have to admit - I shoot with an ISO 800 and over all the time and I've never noticed a huge problem with grainy photos. But then again, I don't mind noise in my photos... Maybe that's why I've never noticed a huge problem with that?

The beauty of digital is there are several programs out there that can remove noise from your digital photos. So give it a shot - change the ISO and see if it helps.


Thursday, July 2, 2009

how to photograph fireworks

(photo by Stuck in Customs)

The 4th of July weekend is almost upon us, and I'm assuming many readers will be watching fireworks at some point this weekend. I have to admit, the last fireworks show I saw live was a few years ago from the Berkeley hills, attempting to photograph the fireworks across the bay in San Francisco. For those of you that don't know, July in the SF Bay Area can be dreary and foggy, so it was a minor miracle I even saw fireworks that night (although because it was sort of hazy, the photos didn't come out so great). As Mark Twain said: "the coldest winter I ever saw was the summer I spent in San Francisco."

For those of you with clear skies, here are some tips on how to photograph fireworks:

  • use a tripod - keeping your camera very still is crucial to getting clear and crisp photos. I'm sure many of you won't be lugging around a tripod this weekend, so consider other ways of stabilizing your camera. I've leaned against walls, used a friend's shoulder, held my camera while squeezing my elbows together. Point being you need to keep the camera VERY still.
  • use remote release - if your camera is attached to a tripod, using a remote release to take the photos further ensures you won't jostle the camera during the shots. Again, I realize you may not: (1) have a remote (I don't) or (2) want to carry all this equipment to your friend's BBQ. Another option would be to use your self-timer for the photos.
I realize these first 2 points are more for those of you that are seeking out fireworks displays to photograph. So if you are just out and about with your camera and you want to take photos of the fireworks, do the best that you can with the first two points - here are some more general tips:

  • use a higher aperture setting - because the sky is pitch black, many of us think we need to use a low aperture setting (f/2.8 or f/4) to get the shot. Generally speaking, the fireworks are so bright you don't need that low of a setting - try bumping the aperture up to somewhere between f/8 and f/16
  • use a longer shutter speed - Most people want a photograph that shows the bursting fireworks display - in order to achieve that you need to have a longer shutter speed - potentially a few seconds (another reason you need to hold VERY still while taking these photos).
  • shoot in manual mode - in order to achieve the proper balance between aperture and shutter speed, you will probably need to shoot in manual so you can adjust each one.
  • consider a lower ISO setting - generally speaking, the lower the ISO the crisper the photograph (i.e. less noise or grain in the photo).
  • rethink your composition - I think most of us want to focus our camera on the sky and fill the frame with fireworks, but a more interesting shot might be a more wide angle that includes the area around you. Like the photo above - just a gorgeous shot that is much more interesting than if he had focused just on the fireworks. Another option - consider framing your shot vertically instead of horizontally.
Happy 4th of July everyone! Be safe and sane, as they say...

Thursday, June 25, 2009

what is aperture? (revisited)

So it's summer school around these parts - not a bad time to revisit some of the basic concepts we reviewed earlier this year (for those of you just starting with LF I started this blog as a one-year DIY photography lesson, so we covered the basics back in Jan/Feb).

I have come across some additional blog posts on the subject of aperture - posts that were amazingly clear on the subject and inspired me to essentially rewrite this lesson. So here goes...

I learned over at Pioneer Woman Photography that "photo" is the Greek word for light. So it follows that photography has everything to do with light, right? How much or how little light enters your camera determines what your photo will look like. Do any of your photos look washed out or too bright? Too much light entering your camera (overexposed photo). Any photos of yours too dark or almost black in parts? Too little light entering your camera (underexposed photo). How do you control the amount of light coming into your camera?

  1. aperture
  2. shutter speed
  3. ISO setting (i.e. film speed)
Aperture is the mechanism in your camera that determines how much light enters and hits the film or digital sensor. It can open large or small to let more or less light in, depending on your circumstances.

Here are some diagrams I saw over at Bacon Lettuce Photo:

You can see from the diagrams that if you want MORE light to come into the camera, you need to select a LOWER aperture or f-stop setting, such as f2.8. Conversely, if you want LESS light to come into the camera, you need to select a HIGHER aperture setting, such as f/16 or f/22.

Still with me? This concept is really important, so go back and read it again if it doesn't make sense. Seriously. Read it again.

So, now that you know more about camera modes, and you're feeling adventurous and want to try aperture priority mode, what setting should you select? Depends on what look you want. Aperture determines, to a large extent, the depth of field for your photo - the distance between the nearest and farthest objects in your photo that will be in focus.

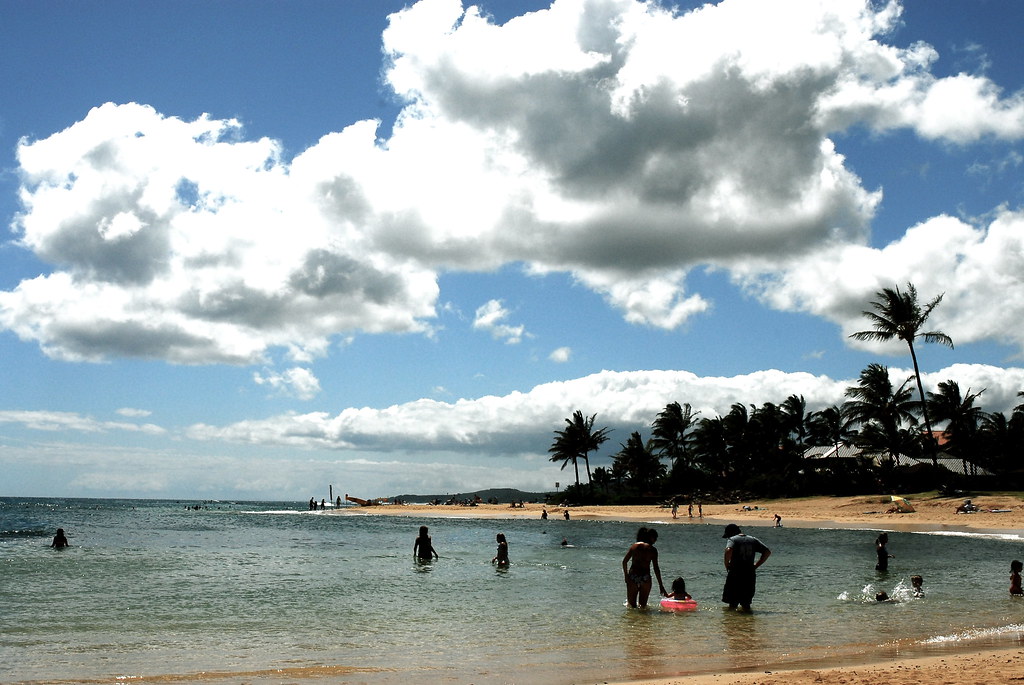
  • If you want most or all of your photo to be in focus (i.e. a beautiful landscape), select a HIGHER aperture setting.
Poipu Beach
(aperture = f/14)
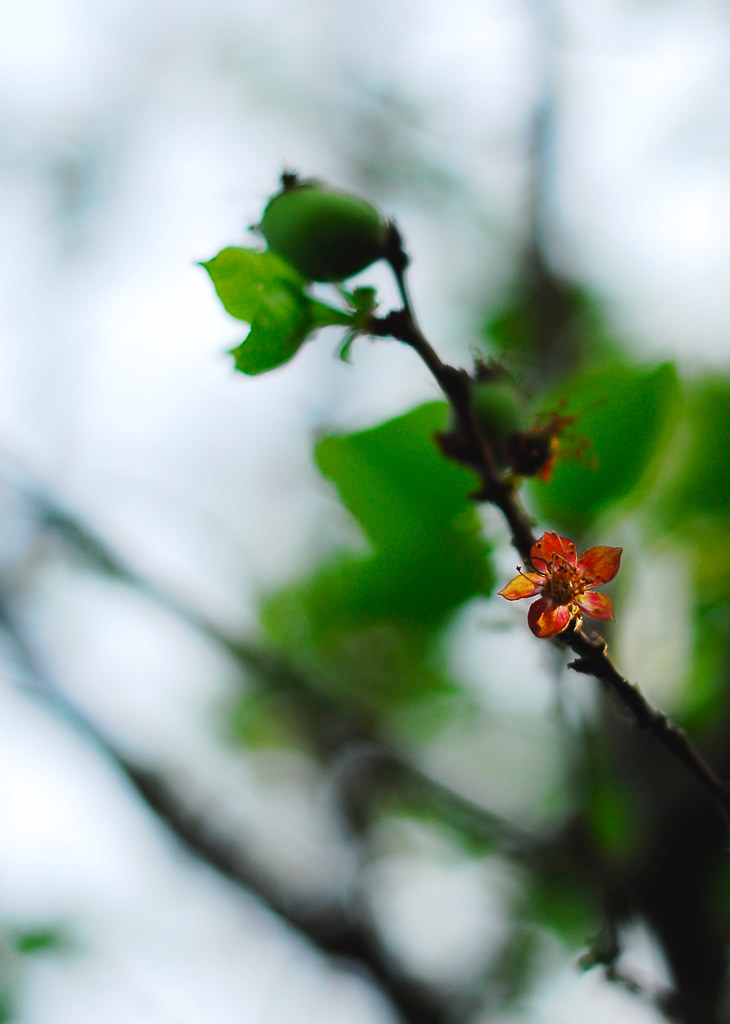
  • If you want a shallow depth of field, meaning you want your subject to be in focus but all of the background blurry, select a LOWER aperture setting.
spring bloom
(aperture = f/1.8)

Obviously there are other factors that will impact your photo's exposure - let's save those for the next few weeks. Until then, break out the camera, move that camera mode dial to aperture priority and start shooting!

Yo

Thursday, June 18, 2009

camera modes 101

http://www.informationaddicts.com/wp-content/uploads/2008/04/camera-modes.jpg
(image courtesy of information addicts)

It's summer time readers - time for BBQs, beach bonfires, lazy days, and road trips. And, for some unlucky souls, summer school. No rest for the weary here at Lens Flare HQ - I plan on continuing to post lessons through the summer. But since it is summer, and you may not have your "A" game when it comes to concentration due to sun exposure, food & drink consumption, lack of sleep, etc. I want to keep the Thursday lessons nice and easy. So I think it's a good time to kick it old school and review the basics. I'll be revamping the side bar as well, so those of you reading up for the first time can visit the archives more easily.

This is a question I get a lot, although I suspect many of you don't want to ask it via email/comments: how do I use the other camera modes? And when I say "other" I mean any mode other than AUTO. Don't get me wrong - the AUTO mode on your camera is pretty genius. It sets the shutter speed, aperture, ISO, white balance, and determines flash or no flash. That's pretty awesome. But as you push your photography further, you will find many instance where AUTO doesn't get it right. Oftentimes the lighting conditions are tricky, or you want to do something beyond the basic photo AUTO will produce. These are the times, my readers, that you will actually need to move that dial.

As you can see in the photo above, there are several modes (most likely) on your SLR. For purposes of keeping this post light & polite, I won't review the other automatic settings now. (Click here for a good summary at Digital Photography School). Most of those modes are self explanatory - for example, if you are shooting at night, perhaps the man with the star next to his head is a good mode for you to try...

No, I'm talking about the semi-automatic modes: aperture priority, shutter priority, and program mode. And, of course, manual mode.

Aperture Priority (A or AV)
Aperture Priority is a semi-automatic mode (or semi-manual, depending on how you want to look at it). Simply put, in Aperture Priority mode you select the aperture setting you want to use, and your camera selects the corresponding shutter speed and white balance that it determines is appropriate. Aperture Priority is best for instances where you need to control the amount of light coming into your camera (such as a low light situation) or where you want to control the depth of field.

For example, if you are shooting a landscape photo and you want a super-sharp depth of field, you could set the mode to Aperture Priority and then select a higher aperture setting such as f/16 or f/22. Your camera would then select the coordinating shutter speed for the shot. Remember with a smaller aperture number less light is coming into your camera, so your camera will probably set a slow shutter speed to create the right balance of light for your photo. That being said, you will need to stand very still to get a clear photo.

Shutter Priority (S or TV)
This should be no surprise if you read the above paragraph - Shutter Priority allows you to set the shutter speed, and the camera sets the coordination aperture and white balance. You might choose Shutter Priority when you are photographing moving subjects or you want to blur moving subjects, such as a running waterfall.

Program (P)
Program mode varies from camera to camera, so check your owner's manual to get the skinny on the specifics. Generally speaking, if your camera has a Program mode, it allows you to have control over 2 or more settings. For example, my camera's program mode is essentially a toggle between Aperture Priority and Shutter Priority - I can change either aperture or shutter speed, and the camera will set whichever I don't (does that make sense?).

Manual (M)
Manual mode allows you full control over the camera's settings. I know it sounds daunting, but believe me, manual mode can really come in handy. I actually shoot mostly in manual, and occasionally in Aperture Priority - I like having full control over how the photo will come out.

https://blogger.googleusercontent.com/img/b/R29vZ2xl/AVvXsEhjvXysZhwV8mp8hLoQKIpP68hR18jOYNW0U7lTpPIyet_ZW1eFSp0ZMzNAR438ZvA_5AsUv3Lmy2r1xoQU2rEhuEalSv_cc577iYHc6ej2FkBXDMWV7rSsXrzqo17oqCOalhGWQapV5cg/s400/ManMode_Display_Callouts.jpg
(photo courtesy of ManMode)

Proper Exposure for Any Mode:

The photo above is a picture of my control panel on my camera in Manual Mode - hence the M in the blue square above. The green and yellow squares show shutter speed and aperture respectively. But what I want readers to focus on is the exposure meter on the control panel - this the camera's way of telling you if the photo you are composing is exposed correctly. Ideally, after choosing your settings, the reader should be dead center (where the yellow arrow is pointing). If your meter "leans" to the left, the image is overexposed, and to the right, underexposed. To use any mode other than AUTO you must become familiar with this meter - check it before your shot to see if your choices render an evenly exposed photo, or if you need to make adjustments.

The best way to learn about modes and the exposure meter? PRACTICE PRACTICE PRACTICE. If you want ideas for how to practice in different modes, leave a comment or drop me an email.
Thursday, June 11, 2009

researching new cameras and lenses

I've been talking to a friend of mine about what kind of equipment I need to photograph a wedding - the answer is, in a nutshell, a lot more than I currently have. I'm hoping to rent most of the equipment I need but I'm thinking of picking up a wide angle lens.

I don't know about you, but my eyes glaze over when I have to read a detailed technical review of any product. I am not a "techie" and I don't enjoy reading reviews that require me to look up terminology every 5 words. However, if you haven't noticed already, cameras and lenses can get really pricey. Of the wide angle lenses I was looking at for my camera, the prices varied by over $1,300! Needless to say, researching your options is very important when you're considering shelling out some serious $$$ for cameras and equipment.

So what's a non-"techie" type to do? Here are some suggestions:

Digital Camera Resource Page
provides pretty comprehensive reviews of various DSLRs, complete with pictures and software reviews. I read the review for the next camera I'm hoping to buy (once that photography business takes off, of course...) and I found it very informative without putting me to sleep. The website is aimed at consumers (rather than professionals) and purports to be unbiased (i.e. does not accept cash, cameras, trips, etc. in exchange for a positive product review).

Digital Photography Review is extremely thorough (almost too thorough for my taste, but remember my non-"techie" status). For any camera newbies reading the site, DP Review provides a digital photography glossary that is really helpful.

My go-to resource for the basics, Digital Photography School, provides some information on what to look for in a DSLR (for those of you looking to upgrade from a point and shoot), and an introduction to lenses, both of which offer a good starting point for any camera/lens research.

Of course, there are always reader reviews on Amazon or other retail camera sites, but I find these a little too "techie," and it always seems like the writer is trying to outdo someone else.

I'm off to do some more research on that wide angle lens...post a comment/email any questions, or if you have any other ideas for researching cameras and lenses.

Thursday, June 4, 2009

how to take better candid photographs

the girls

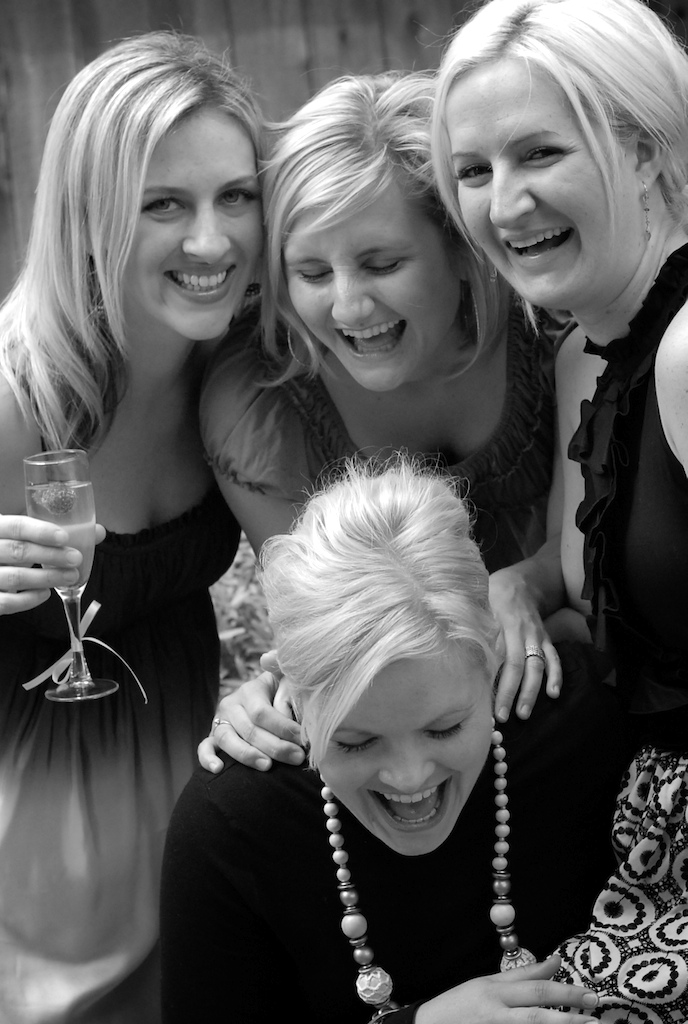
It's been a while since my last "how-to" post. I've got wedding photography on the brain, and I know for my taste, I love candid photos. The best photos taken at my own wedding were the ones I didn't know were being shot. Photos of me laughing, interacting with my guests, just enjoying my wedding day. I also love the photos of my kids that are not posed, but more natural and "in the moment" (which is a good thing with a 14 month old that has no interest in standing still...)

Without further ado, here are some tips for better candid photos:

  • use a long zoom lens - the further away you are from your subject, the better your chances of capturing them in a candid moment. And your subject won't be so aware that there is a camera in their face...
  • have your subject keep busy - people doing something are inherently more interesting (from a photography standpoint) than people sitting still or just standing there. And it's another way to distract your subject from the fact that they are being photographed.
  • photograph people with people - by photographing 2 or more people you can capture the interaction (laughter, emotion, affection, etc.)
  • shoot multiple frames - if your camera has the capability to fire several frames per second, do it. Chances are one of those frames will produce a great candid shot.
  • nix the flash - this should be the unofficial mantra here at LF headquarters. For any camera shy subjects, the flash only emphasizes the fact that yes, they are being photographed - and they may retreat into hiding. By upping the ISO and opening your aperture, you can even get that perfectly grainy photo that (in my opinion) makes for a great candid photo. (Click here if you missed this discussion).
  • shoot from the hip (literally) - changing your perspective definitely adds to the "candidness" of the shot. Many times I will shoot from a feline perspective (i.e. low to the ground) just to see what I come up with. I promise you, however, if you see me shooting low to the ground that I am NOT trying to peek up your skirt. I'm just sayin...
Any questions? Leave me a comment or drop an email.
Thursday, May 28, 2009

Composition: breaking all the rules


I admit - I really struggled with this week's lesson. I feel like we've covered a lot of the basics of photography, and I started photography 201 to provide more advanced lessons. So readers, if you have any specific questions you want answers to, or help editing a photo of yours, PLEASE email me or leave a comment. I could use the inspiration for next week...

(And by the way, I am an idiot and I misspelled my email address in the sidebar, so if any of you readers tried to email me in the past few weeks, I didn't get it)

So today, we're breaking all the (composition) rules. I love some of these suggestions at digital photography school (a great website for easy-to-digest photo tips). Remember the rule of thirds? Ignore it. Remember those weeks we reviewed focus? Fuggetabouit. Want to spice up your photos? Try some of these tips:

read all of the broken rules here - let me know if you think this improves some of your photos or detracts from them...

Thursday, May 21, 2009

using fill flash to "brighten" your photos

I have weddings on the brain - my first wedding shoot is rapidly approaching and I am in full research and learning mode. Lighting at any wedding is crucial, so I will definitely be posting more and more on using your flash in photos.

Behold, today's lesson:


This is a problem I've encountered MANY times - where the background is bright or well lit, and the foreground is shadowed or dark, and my focal point is therefore too dark to see. In this photo, since the sun is behind the leaves, the leaves are too dark to see the beautiful green color.

In this situation, your camera's light meter will pick up on the brighter part of the image and decide the photograph is well exposed (when clearly it is underexposed). What's a photographer to do in this situation, you ask?

The simplest answer, applicable to both point and shoot and SLR users - is fill flash. In essence, you activate the flash manually, providing additional light for a better exposed photo. Fill flash helps with photos where your subject is backlit (see above), and also to eliminate shadows cast across your subjects face (for example, under one's nose or chin, or a face peering out from under a hat)

Most point and shoots (and SLRs) allow for the photographer to manually pop up the flash for a picture. Check your manual to see how you can force the flash to pop up. The key is to dial back the brightness of the flash so that you don't have flash blow out. Again, check your manual to see how you can lower the output of your flash - some cameras have a fill flash setting, while others allows you to lower the output in halves or thirds. I do this ALL the time with my point and shoot because my camera's flash is CRAZY bright...

Any questions? Leave a comment or email me.